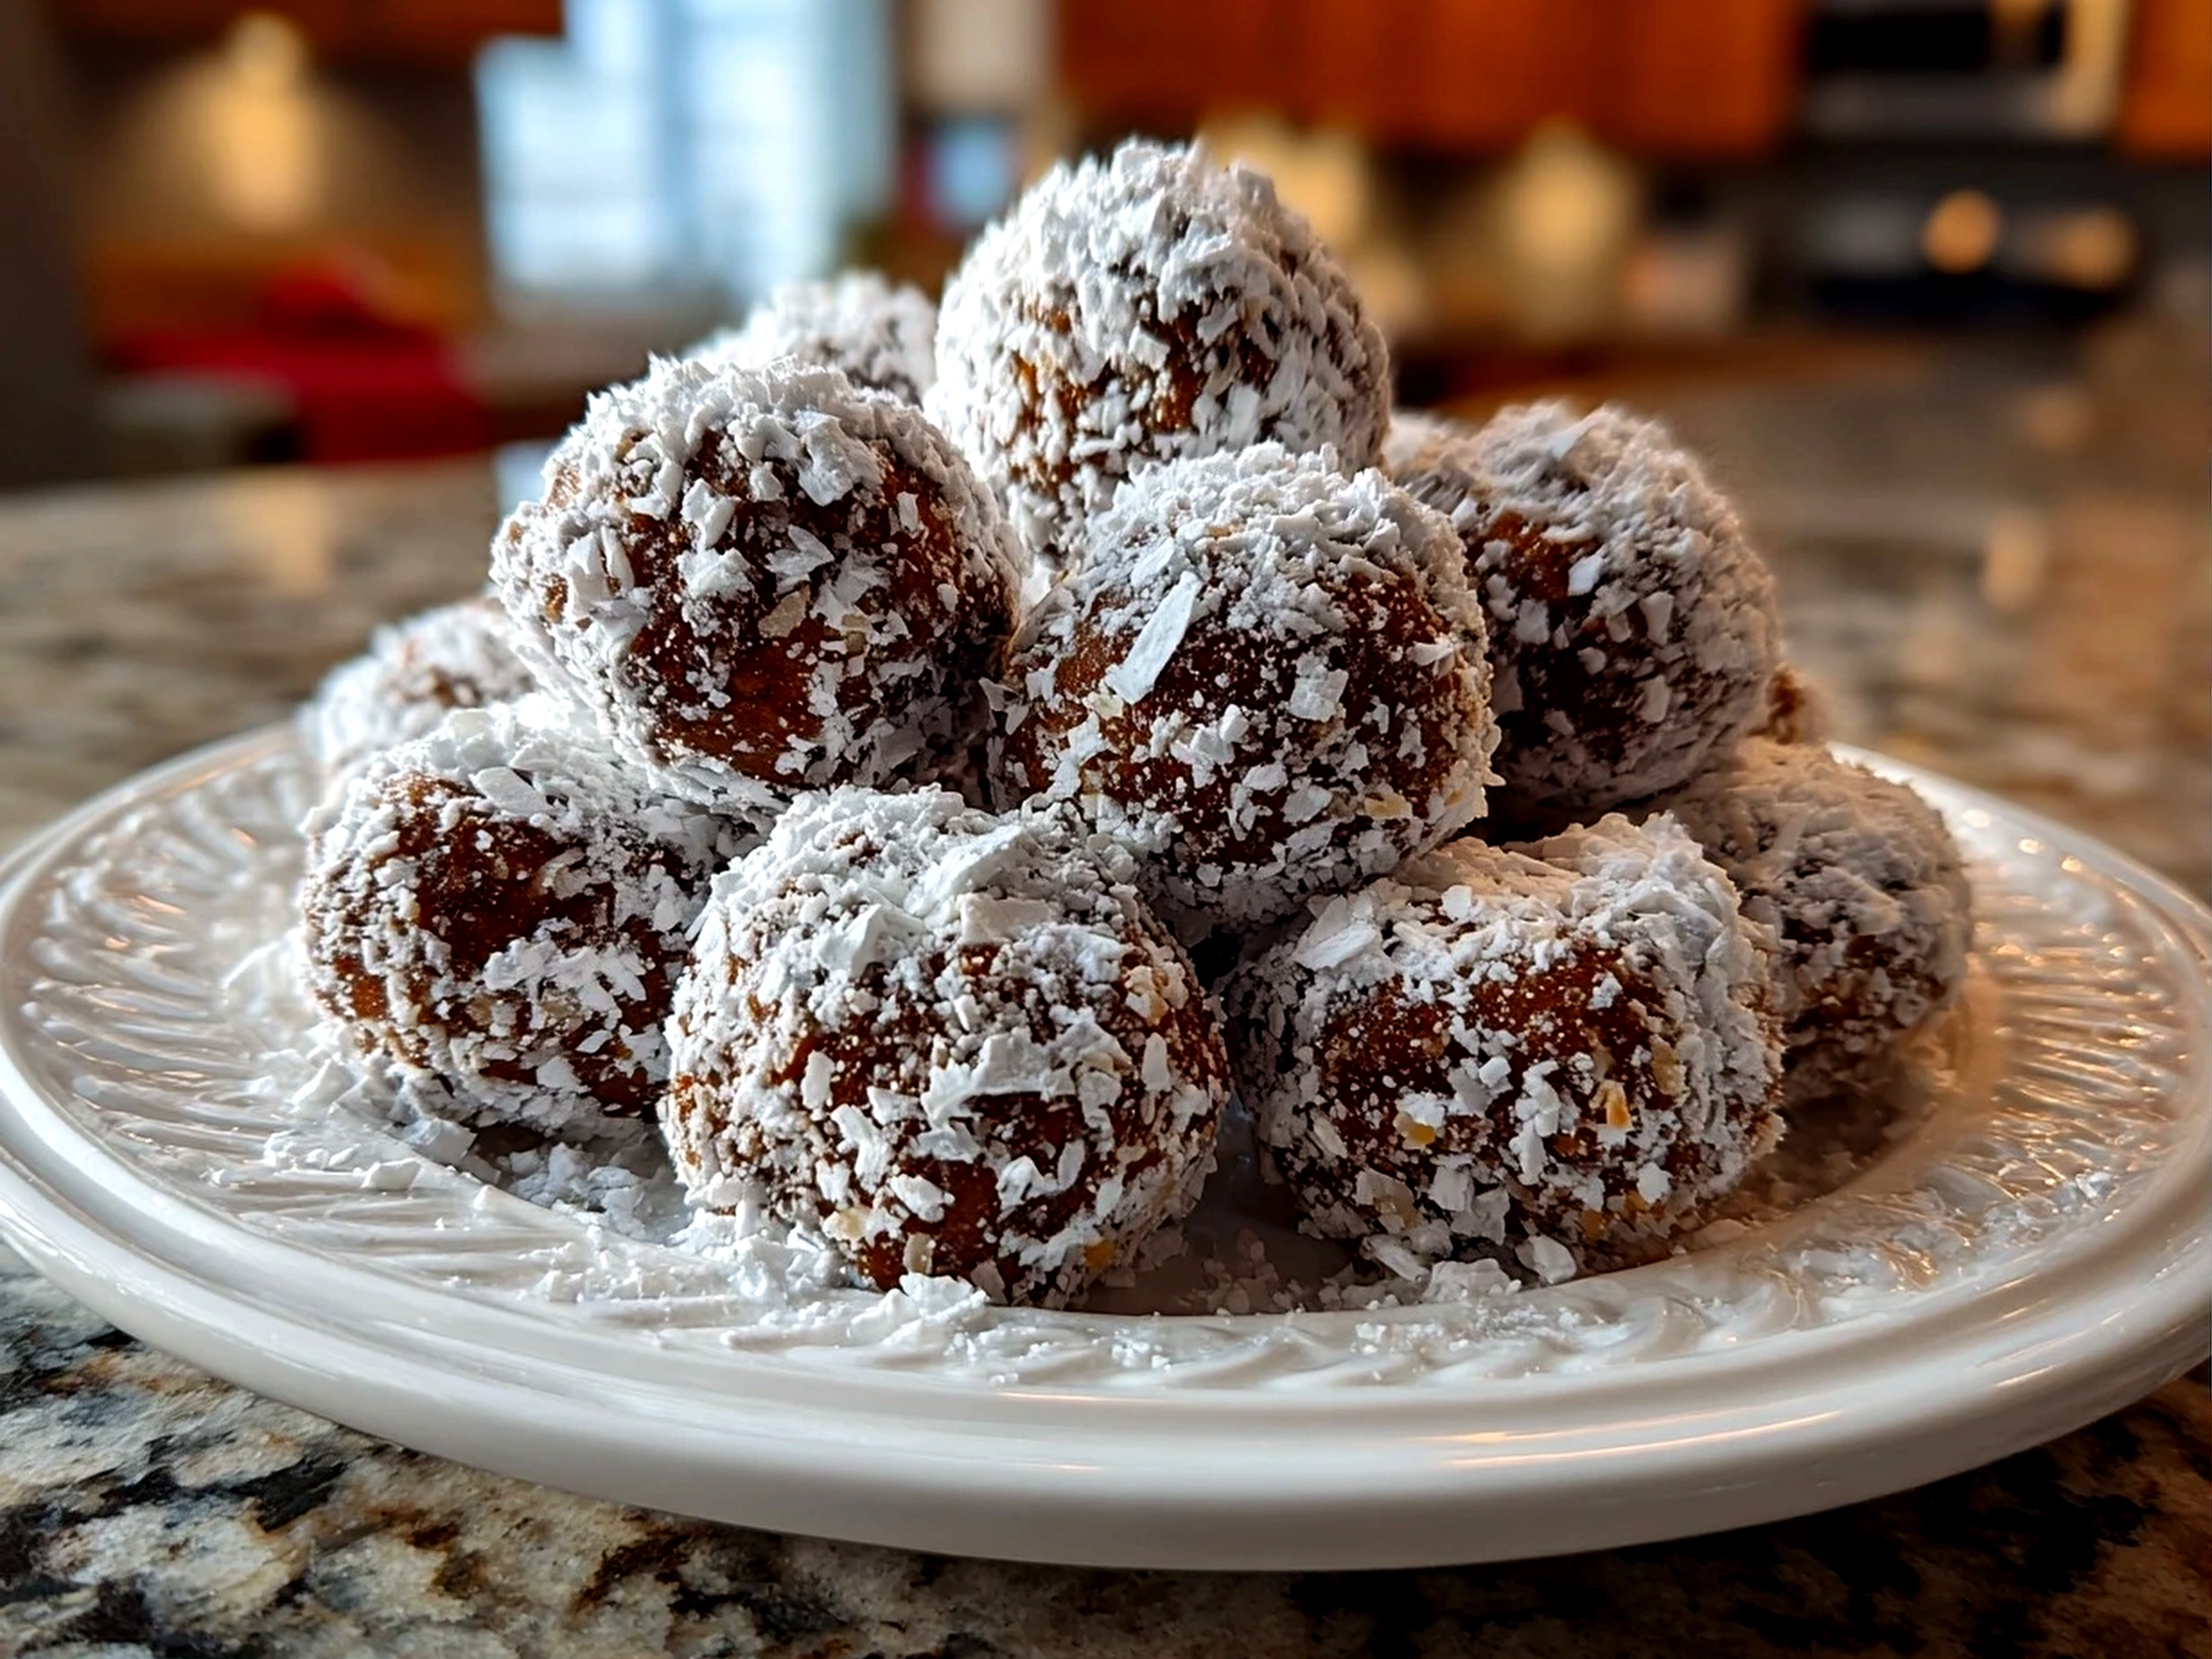
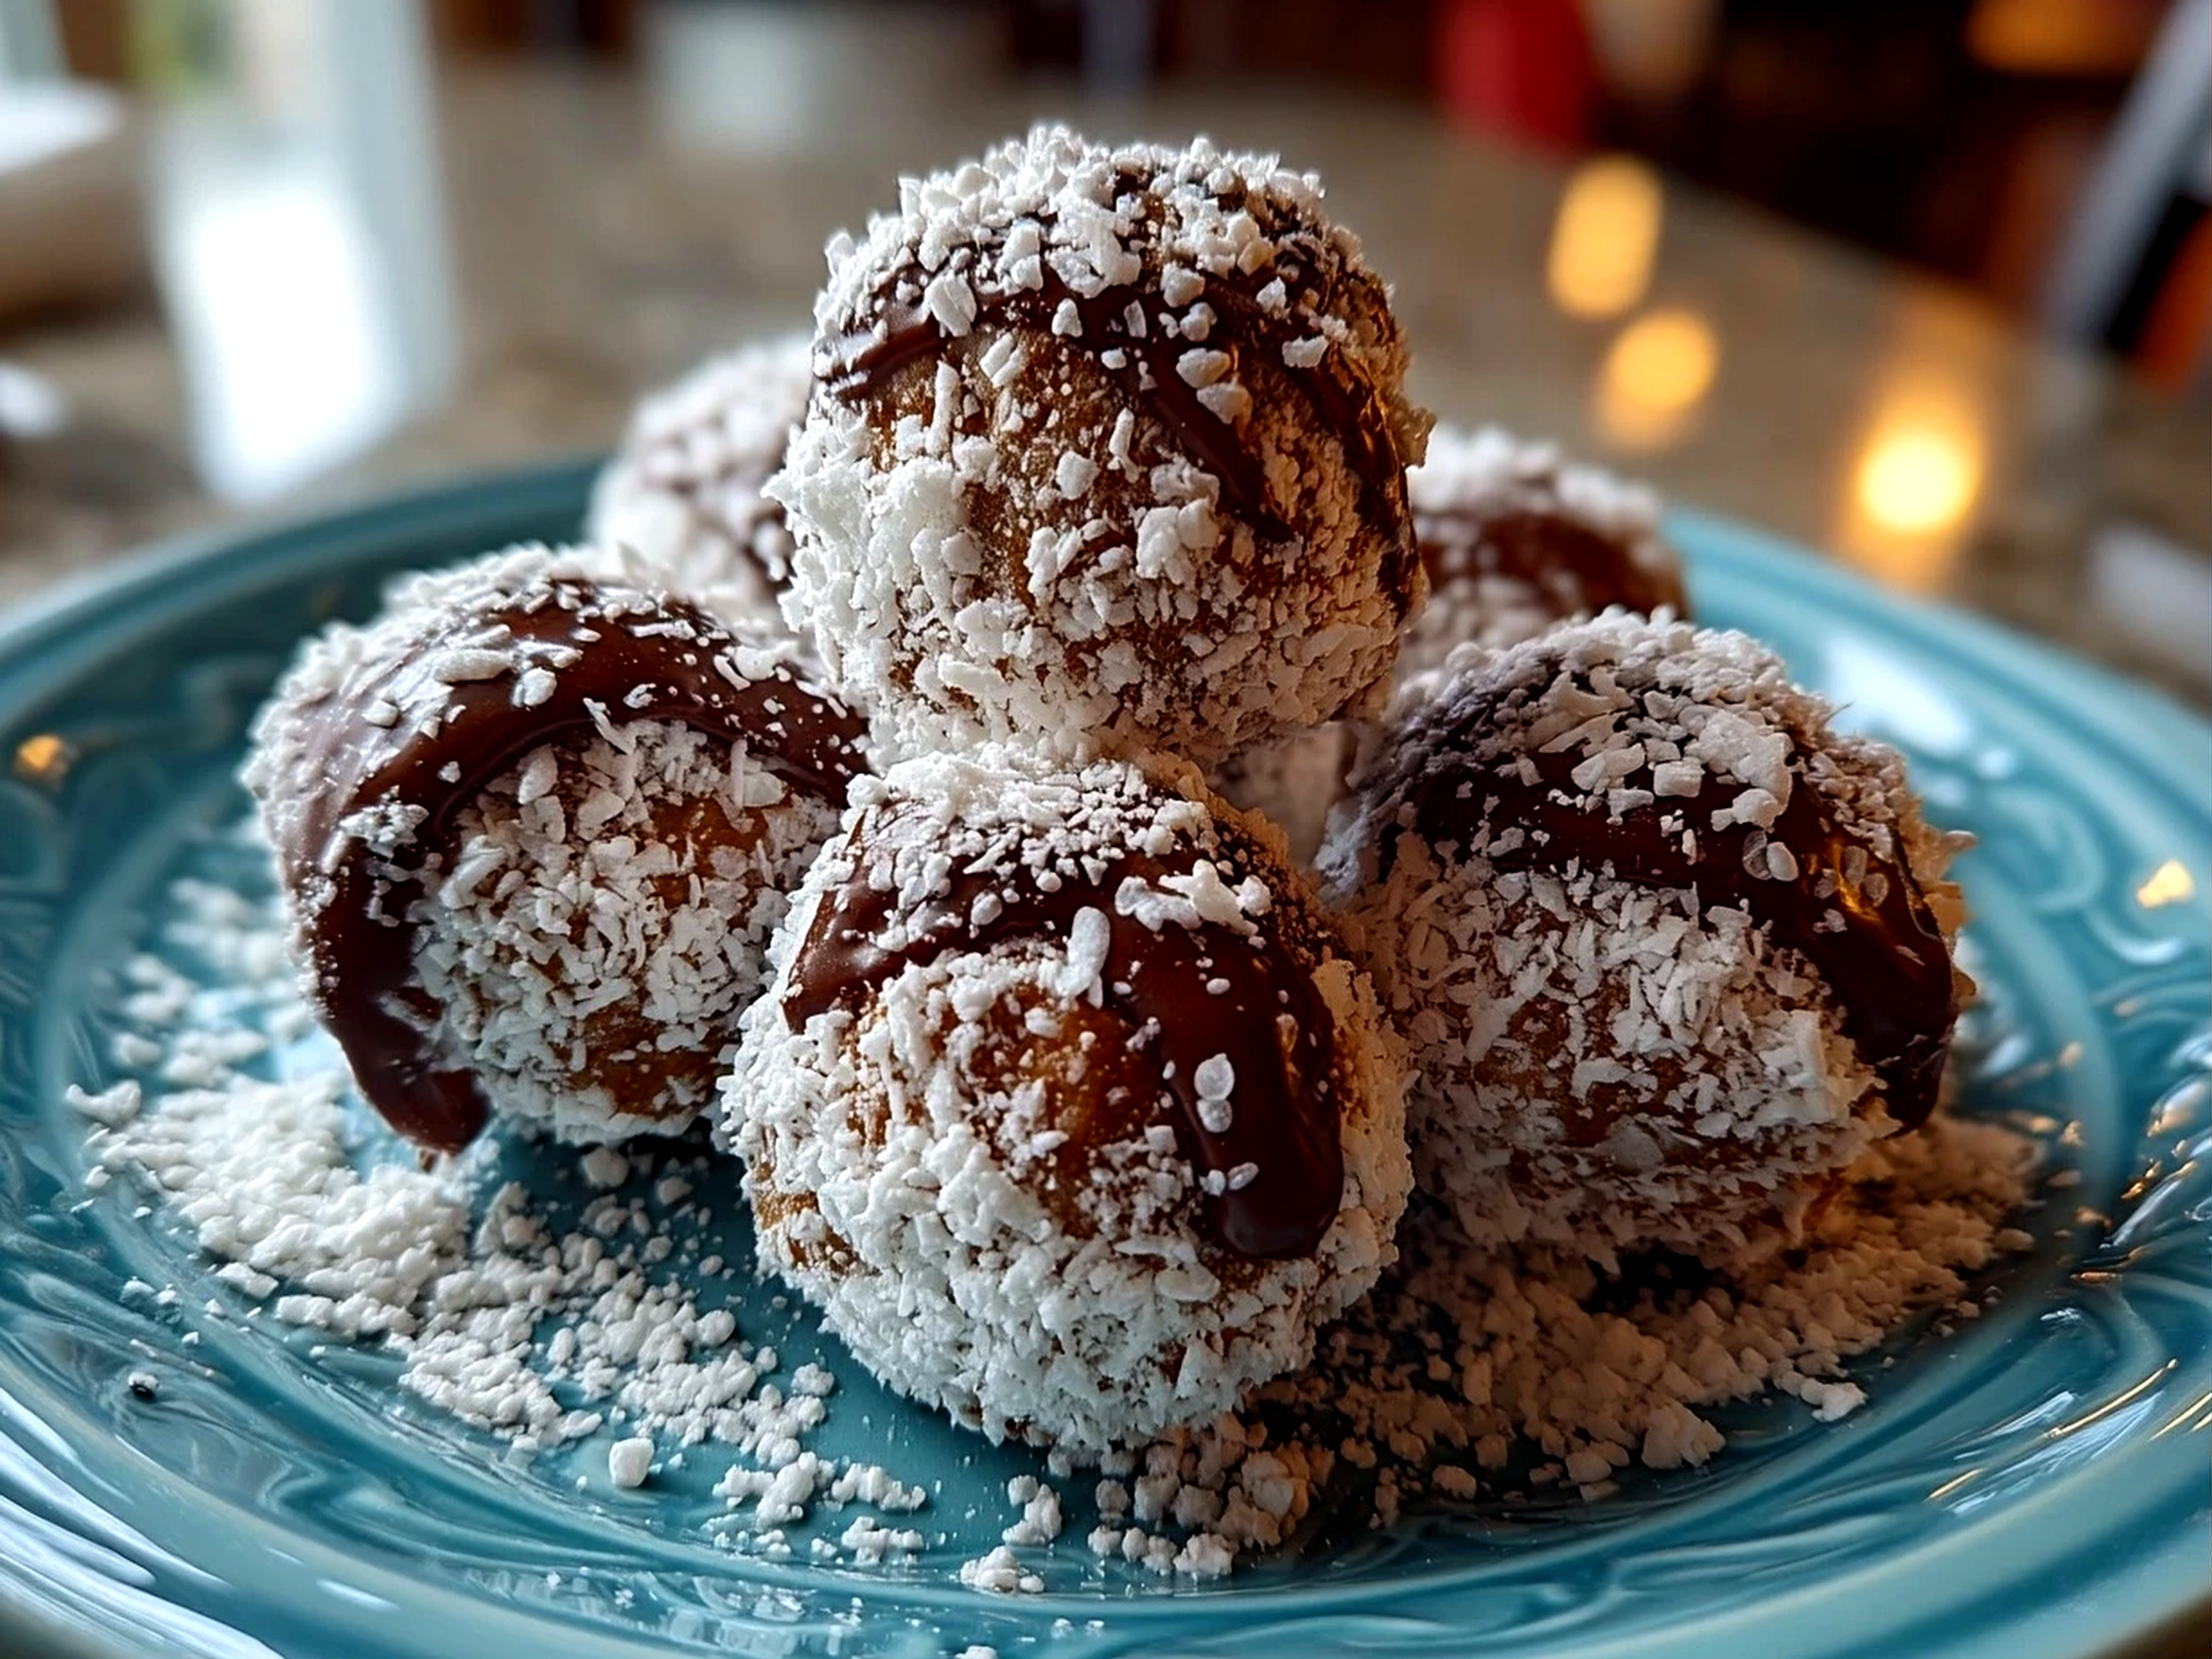
If you’ve ever craved a sweet snack that’s both nostalgic and new, Puppy Chow Balls might become your new obsession. The first time I made Puppy Chow Balls in my kitchen, I was instantly charmed by how this twist on the classic puppy chow turned a beloved snack into something wonderfully bite-sized and portable. Picture this: a cozy afternoon in my sunny kitchen, the smell of warm chocolate and peanut butter filling the air. The surprise was in the perfect balance—the crunchy Chex mix coated in that sweet, chocolaty peanut butter layer, then rolled into little balls that were just the right size to enjoy one after another without guilt. It was comfort and creativity, bundled up in one irresistible snack. It’s an easy, joyful recipe that requires no complicated techniques but delivers that warm, satisfying taste everyone loves. These Puppy Chow Balls have become a staple when friends drop by or when I want to treat my family to something sweet yet straightforward.
If you enjoy this recipe as much as I do, you might also want to try the Cream Cheese Sausage Balls I shared recently—they’re another crowd-pleaser that brings comfort to every bite. Or for a fun twist on meatballs with family-friendly flavors, check out my Korean BBQ Meatballs recipe. Both these recipes share the same spirit of simple, memorable dishes you’ll want in your weekly rotation.
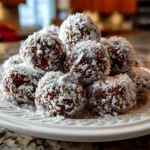
You’re going to love how Puppy Chow Balls bring a classic Puppy Chow dessert into a perfect little ball of delight. Let’s get started!
Ingredients
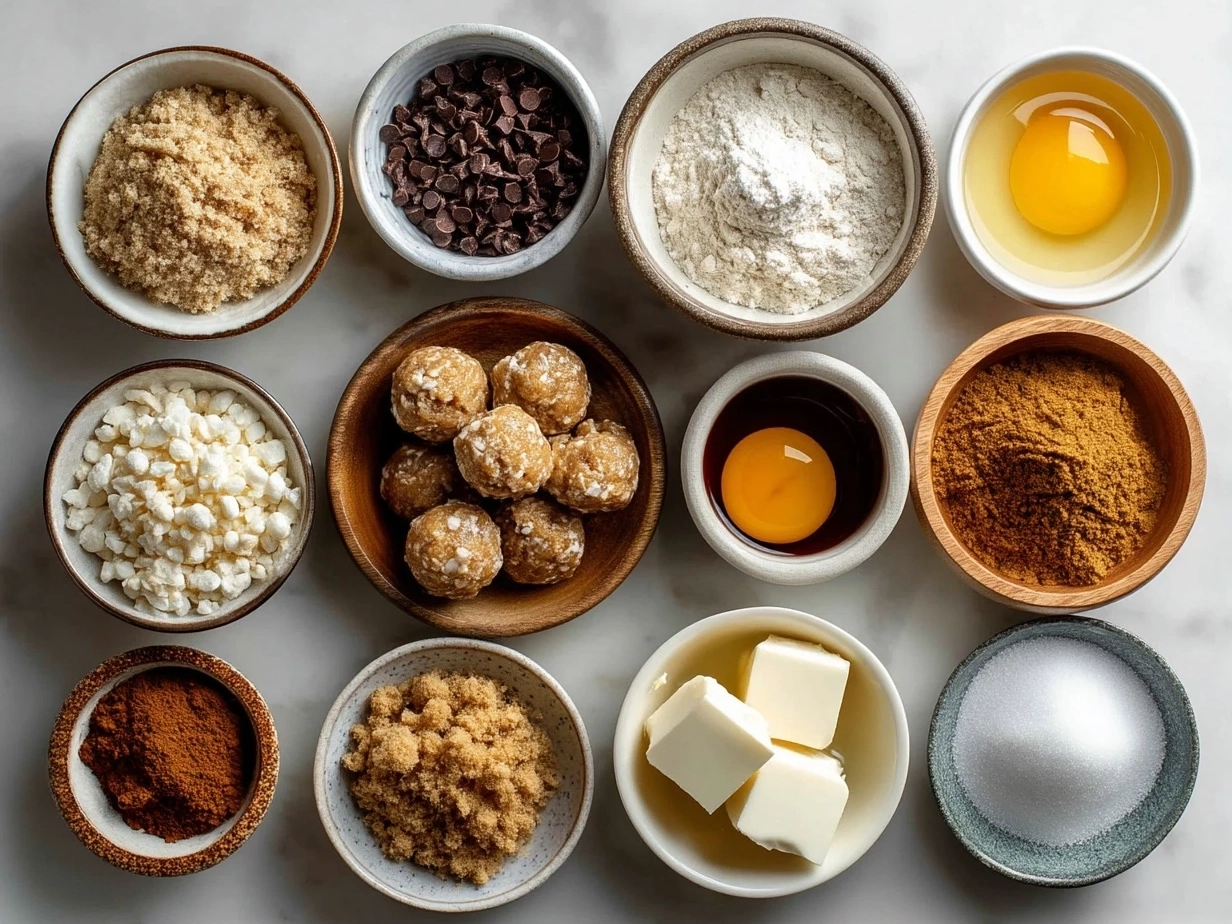
This Puppy Chow Balls ingredient list is surprisingly simple but delivers incredible comfort! Here’s exactly what you’ll need to get started:
- 6 cups Chex cereal (rice or corn) – The base of your Chex Mix Puppy Chow, make sure it’s fresh and crunchy
- 1 cup semi-sweet chocolate chips – For that rich chocolate coating; high-quality chips make a big difference here
- 1/2 cup creamy peanut butter – The secret to amazing Puppy Chow Balls is using creamy rather than chunky peanut butter for smooth coating
- 1/4 cup unsalted butter – Adds richness and helps the chocolate and peanut butter mix smoothly
- 1 1/2 cups powdered sugar – For that perfect Puppy Chow snack sweetness and classic finish
- 1 teaspoon vanilla extract – Just a touch to brighten the flavors
- Optional: a pinch of salt – Balances the sweetness, especially if you use unsalted butter
You’ll find the best ingredients for this Puppy Chow Balls at your local grocery store’s baking aisle. If you want to splurge on one Puppy Chow Balls ingredient, make it the peanut butter—using a natural, creamy style will give your balls a more vibrant flavor and satisfying texture.
For those with nut allergies or looking for different tastes, you can swap the peanut butter for almond butter or sunflower seed butter; it changes the flavor slightly but still creates delicious Puppy Chow dessert balls. If powdered sugar feels too sweet, mixing in a little cocoa powder can add depth and reduce sweetness.
Once your ingredients are ready, think about storage: keep your Puppy Chow Balls covered in an airtight container, and if you’re prepping ahead, store the powdered sugar separately until just before serving to keep that fresh coating crisp.
Let’s Make This!
Here’s the warm and welcoming step-by-step process to make your Puppy Chow Balls a true kitchen success.
- Prep your workspace by laying out parchment paper or a silicone mat for your Puppy Chow Balls to cool and set. This small prep goes a long way toward making cleanup easier later!
- Melt together your chocolate chips, peanut butter, and butter in a microwave-safe bowl, heating in 30-second increments and stirring in between. This mix is the heart of your Puppy Chow snack. Don’t worry—your Puppy Chow Balls are going to turn out beautifully when you get this smooth coating just right.
- Add vanilla extract and a pinch of salt to the melted mixture, stirring to combine fully. This little flavor nudge lifts your Puppy Chow Balls from good to memorable.
- Pour your Chex cereal into a large bowl, then slowly add the warm chocolate peanut butter mixture, gently folding it in to coat every piece. This step might seem tricky, but I promise your Puppy Chow Balls will work perfectly if you’re gentle; you don’t want to crush your crispy cereal.
- Spread out the coated Chex on the parchment just a bit to cool for about 5 minutes until the chocolate layer firms up slightly. This is where your Puppy Chow Balls start to transform into something truly special.
- Sprinkle powdered sugar into a large bowl, then scoop small handfuls of the coated mix and gently roll them into balls about 1 to 1 1/2 inches wide. I use two spoons at first because the mixture can be sticky.
- Roll each ball in the powdered sugar, turning so it’s completely covered. This sugar coating is essential for that perfect Puppy Chow dessert balls look and taste.
- Place finished balls back on the parchment paper to fully set for at least 30 minutes. Your Puppy Chow Balls should feel firm but not dry; they’ll hold their shape nicely.
- Store cooled Puppy Chow Balls in an airtight container. They keep well for several days and even taste fantastic chilled.
In my kitchen, this Puppy Chow Balls recipe takes exactly about 45 minutes hands-on from melting to set. While your Puppy Chow Balls are setting, take a moment to enjoy the amazing aroma of chocolate and peanut butter filling your kitchen—it’s such a cozy treat.
If you’d like to see another fun spin on bite-sized snacks like these, Easy Nostalgic Puppy Chow Truffles from Simply Unbeetable are a great option, too.
Serving & Presentation
Serving Puppy Chow Balls is where the fun really begins. I love to place these little treats in a pretty bowl or even on a festive platter to make them feel special. A simple dusting of extra powdered sugar right before serving adds a fresh, elegant touch.
Puppy Chow Balls pair beautifully with a cold glass of milk or a hot cup of coffee—perfect for sharing during afternoon snack time or at casual family gatherings. I often see people’s faces light up when they try Puppy Chow Balls, the way they instantly bring a feeling of comfort and nostalgia.
For a special occasion, Puppy Chow Balls make a standout snack at holiday parties, game nights, or even just a movie night at home. Their handheld size and sweet crunch invite everyone to pop them one after another.
Creative ways I’ve enjoyed leftovers include tossing Puppy Chow Balls into a dessert bowl with vanilla ice cream or crumbling the balls over yogurt for a fun-textured topping. Seasonal variations, like adding a sprinkle of cinnamon or swapping semi-sweet for white chocolate chips, offer delightful twists that keep Puppy Chow Balls feeling fresh all year round.
If you enjoy chocolate peanut butter balls, you might also want to explore Muddy Buddy Balls (Puppy Chow Truffles) from Sugar and Soul for another take on this fun dessert.
FAQs
Here are some of the Puppy Chow Balls questions I’ve heard most often from fellow food lovers, with warm answers to help you feel confident making this recipe your own:
Can I make Puppy Chow Balls ahead of time?
Absolutely! They keep well in an airtight container at room temperature for up to 3 days or refrigerated for a week. Just bring to room temperature before serving for the best flavor.What if I don’t have peanut butter on hand?
You can swap peanut butter for almond butter or sunflower seed butter in this Puppy Chow snack. The flavor changes slightly, but the coating still holds beautifully.How do I know when my Puppy Chow Balls are perfectly done?
You’ll want the balls to be firm to the touch and fully coated in powdered sugar. If the coating is sticky, pop them back into powdered sugar for another roll.Can I use a different type of Chex cereal?
Yes! Rice, corn, or even multi-grain Chex works well in this Chex mix Puppy Chow variation. Just choose what you like best for the base crunch.Can I make Puppy Chow Balls gluten-free?
Definitely, just use a certified gluten-free Chex cereal. This makes an easy gluten-free Puppy Chow dessert balls version.What if my Puppy Chow Balls mixture is too sticky?
Try chilling it in the fridge for 10-15 minutes before rolling. This helps it firm up and makes handling much easier.Are there variations of Puppy Chow Balls I can try?
Yes! Adding mini chocolate chips, using white chocolate instead of semi-sweet, or mixing in some chopped nuts adds fun new flavors. For more Puppy Chow Ball inspirations, check out Puppy Chow Chocolate Truffles from Wellness by Kay.
Why This Puppy Chow Balls Will Become Your New Favorite
This Puppy Chow Balls recipe is exactly the kind of comforting, approachable dessert I love sharing with fellow food lovers. It brings together simple ingredients in a way that turns ordinary moments into sweet, memorable ones. Whether it’s a quick Puppy Chow snack for after school or a thoughtful treat for guests, this recipe delivers warmth and joy every time.
Here are my Puppy Chow Balls Success Tips:
- Use creamy peanut butter for smooth, consistent coating
- Gently fold the mix to keep the Chex pieces intact
- Chill your mixture slightly if it’s too sticky before rolling
I’ve also created variations like white chocolate Puppy Chow Balls, a spicy peanut butter mix, and one with added mini marshmallows—each with its own devoted fans. The version with a classic chocolate-peanut butter combo still gets the biggest smiles every time.
I hope you’ll make these Puppy Chow Balls a cheerful addition to your kitchen routine. You’ve got everything you need to create delicious, bite-sized moments of comfort—and I can’t wait to hear how you enjoy making and sharing them with those you love. If you want to share your Puppy Chow Balls success stories or memories, drop me a line or leave a comment. Connecting over food is what makes cooking a joy!
If you loved this Puppy Chow Balls recipe, you might also enjoy the cozy flavors found in Cream Cheese Sausage Balls or the vibrant taste of Korean BBQ Meatballs for your next get-together.
Happy cooking, friend!
Puppy Chow Balls
Puppy Chow Balls are a fun and delicious snack made with chocolate, peanut butter, and crispy cereal, perfect for parties or an indulgent treat.
- Prep Time: 10 minutes
- Cook Time: 0 minutes
- Total Time: 10 minutes
- Yield: 24 servings
- Category: Snack
- Method: No-Cook
- Cuisine: American
Ingredients
- 6 cups crispy rice cereal
- 1 cup semisweet chocolate chips
- 1/2 cup creamy peanut butter
- 1/4 cup unsalted butter
- 1 teaspoon vanilla extract
- 1 1/2 cups powdered sugar
Instructions
- In a microwave-safe bowl, combine chocolate chips, peanut butter, and butter. Microwave in 30-second intervals, stirring between each, until smooth.
- Stir in vanilla extract.
- Pour the chocolate mixture over the cereal in a large bowl and gently stir until all pieces are evenly coated.
- Transfer the coated cereal to a large resealable plastic bag, add powdered sugar, seal, and shake until well coated.
- Spread the mixture on wax paper to cool and set.
- Once cool, form the mixture into bite-sized balls.
- Store in an airtight container at room temperature.
Notes
For a festive twist, add mini chocolate chips or chopped nuts inside the balls before setting.