
From the first moment I tasted this No Fail Fudge, I knew it was something special—a real crowd-pleaser that would fit perfectly with my philosophy of approachable, comforting meals. It was during a chilly weekend gathering in my cozy kitchen, where the rich aroma of chocolate filled the air, and each bite offered that perfect balance of creamy sweetness and just the right touch of melt-in-your-mouth texture. What surprised me most was how simple the entire process was, yet it delivered a homemade fudge experience that felt like it came from a bakery.
This No Fail Fudge instantly became my go-to treat for sharing with family and friends. It’s a recipe that doesn’t intimidate but invites creativity and connection in the kitchen. The ease of this No Fail Fudge recipe fits right in with my love for comforting dishes that anyone can make, whether you’re new to candy-making or have some experience under your belt. It embodies exactly what I want you to discover here—joy in cooking, simplicity in execution, and unforgettable deliciousness.
I’m genuinely excited to share my No Fail Fudge recipe with you because it’s not just about chocolate sweetness; it’s about creating moments around the table. Whether you’re baking it for the holidays, a casual dessert, or a sweet gift, this recipe will never let you down. Plus, if you enjoy simple, reliable recipes like my Loaded Baked Potato Soup or Chicken Cacciatore, wait until you try this chocolate fudge treat! You’ll find it’s perfectly doable and totally satisfying. Let’s jump in and make this easy fudge recipe a part of your kitchen favorites.
Ingredients
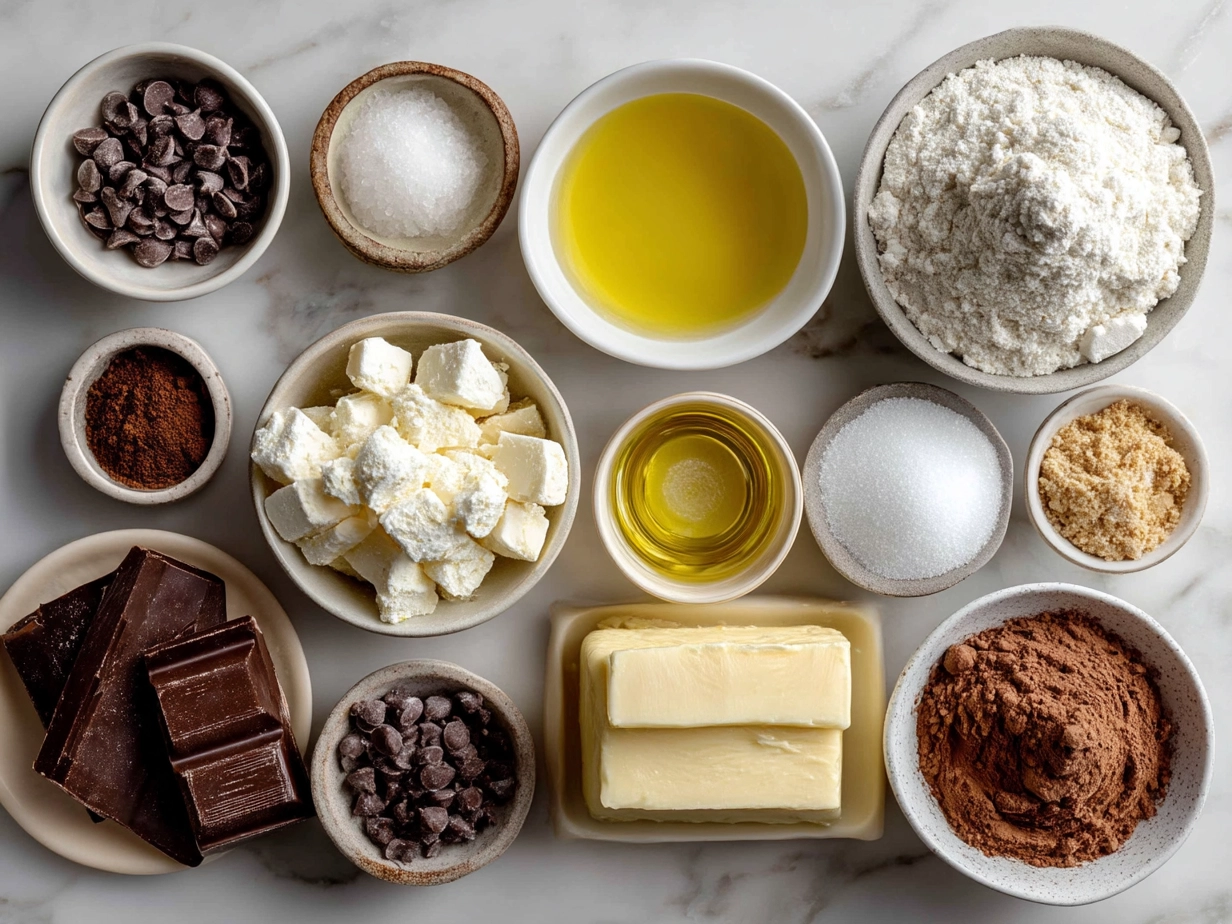
This No Fail Fudge ingredient list is surprisingly simple but delivers incredible comfort! Here’s what you’ll need:
- 2 cups semi-sweet chocolate chips – The star of your chocolate fudge. Choose good-quality chocolate chips for the best flavor.
- 1 (14-ounce) can sweetened condensed milk – This is the secret to the smooth, creamy texture that makes this No Fail Fudge so irresistible.
- 1/4 cup unsalted butter – Adds richness and helps the fudge set to that perfect consistency.
- 1 teaspoon pure vanilla extract – Enhances the chocolate flavor with a warm, inviting depth.
- Pinch of salt – Balances the sweetness beautifully.
I find the best ingredients for this No Fail Fudge at specialty grocery stores or good online shops. If you want to splurge on one ingredient, it should be the chocolate chips, selecting a brand you love eating on their own.
Customization options are easy here. For a simple fudge twist, try substituting half of the chocolate chips with white chocolate chips or adding chopped nuts for a bit of crunch. Those who prefer a vegan version can swap the butter for coconut oil and look for dairy-free sweetened condensed milk alternatives.
Keep your ingredients at room temperature for the smoothest blend. Storing your unsalted butter in small cubes also helps it melt evenly when you’re making this homemade fudge.
When you source your ingredients thoughtfully, your No Fail Fudge starts with a strong foundation for deliciousness!
Let’s Make This!
1. Prepare your pan – Line an 8-inch square baking pan with parchment paper or lightly grease it. This ensures your No Fail Fudge will come out smoothly after it sets.
2. Melt the base – In a medium saucepan over low heat, combine the semi-sweet chocolate chips, sweetened condensed milk, and unsalted butter. Stir gently but continuously.
Don’t worry—your No Fail Fudge is going to turn out beautifully with this slow, careful melting process. The gentle heat prevents scorching and gives you a smooth, glossy mixture.
3. Look for the perfect texture – Your chocolate fudge should look completely melted, shiny, and silky, about 5 to 7 minutes on the stove. If small lumps remain, keep stirring—they’ll melt as the mixture heats.
4. Add vanilla and salt – Remove the pan from heat and stir in the vanilla extract and a pinch of salt. This adds that extra flavor depth that makes your No Fail Fudge incredibly satisfying.
5. Pour and smooth – Immediately pour the mixture into your prepared pan. Use a spatula to spread the fudge evenly. This is where your No Fail Fudge transforms into something truly special—its smooth surface ready for chilling.
6. Chill until firm – Refrigerate for at least 3 hours or until the fudge is completely set. Patience here pays off with the cleanest cuts and the best texture.
7. Cut and serve – Once firm, lift the fudge out using the parchment paper. Cut into bite-sized squares and enjoy!
If your homemade fudge seems too soft after chilling, pop it back in the fridge for a bit longer. Overheating during melting is a common hiccup but easy to avoid with steady heat and constant stirring.
While your No Fail Fudge is cooking, take a moment to enjoy that amazing aroma—it’s a comforting, chocolatey invitation to something delicious.
Every step brings you closer to a perfect batch of quick fudge that’s ready for sharing. Remember, simple fudge recipes like this can become treasured traditions in your kitchen.
Serving & Presentation

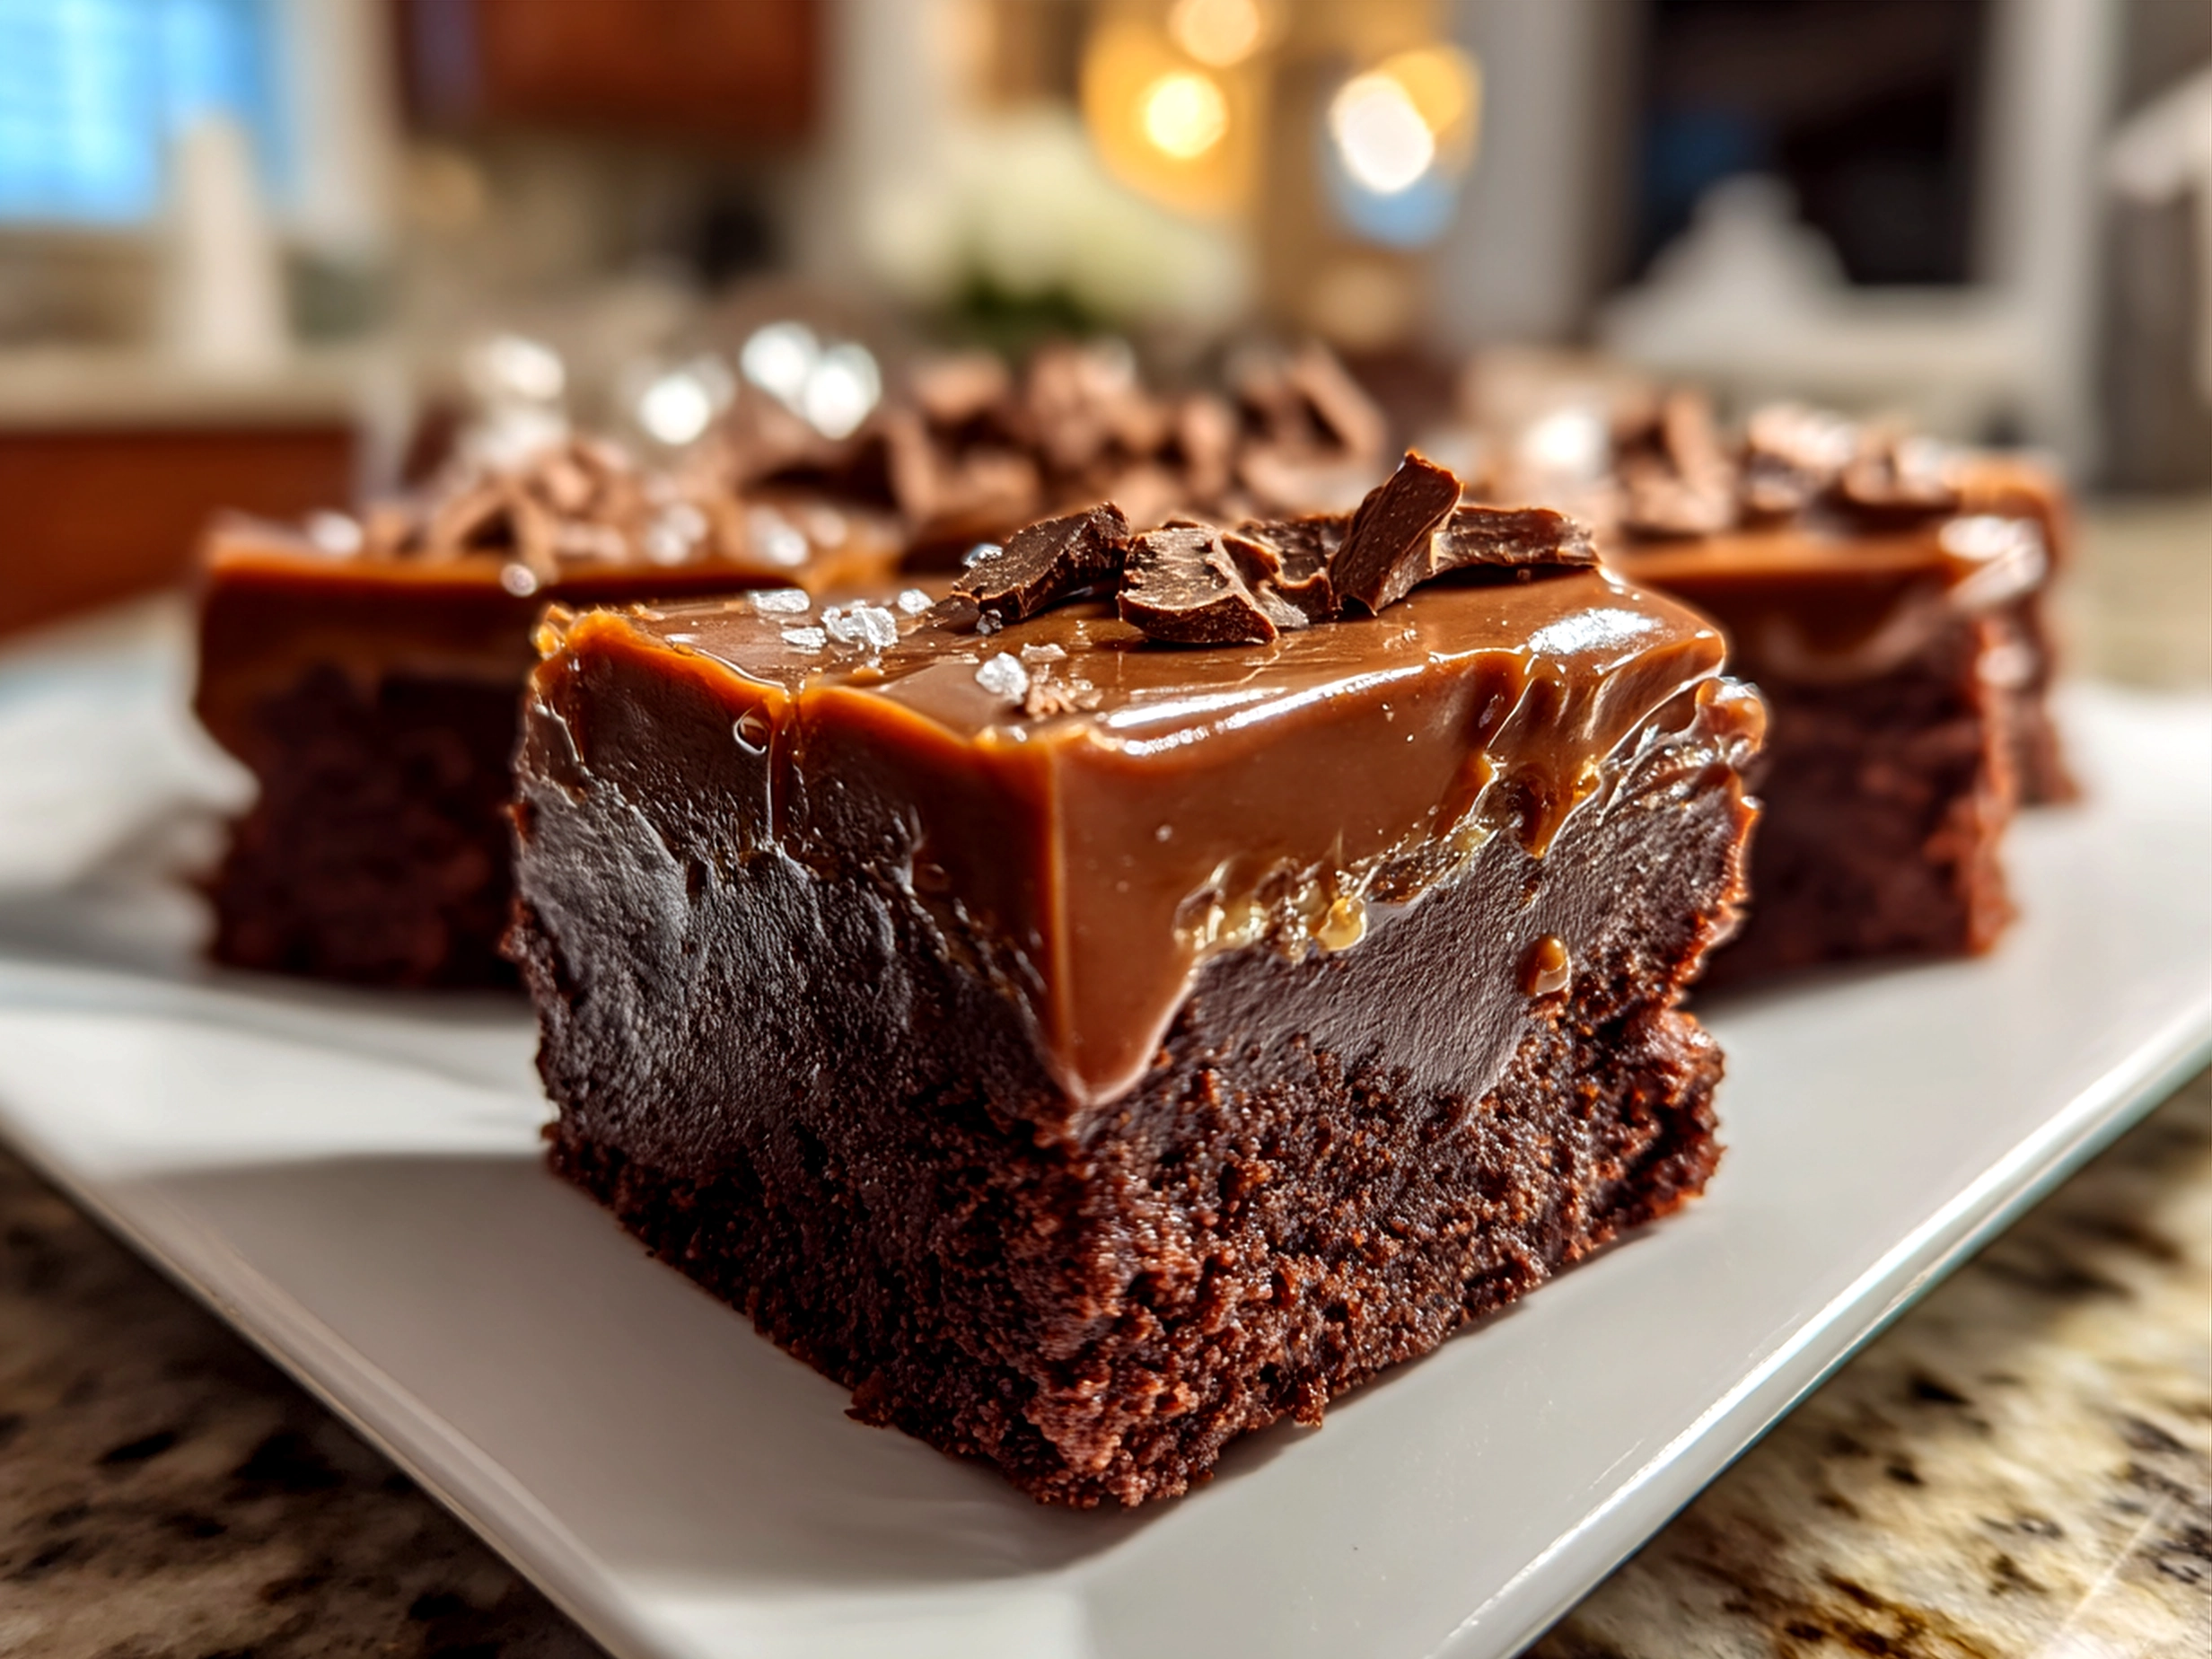
People always smile when I serve this No Fail Fudge at gatherings, from cozy family dinners to festive celebrations. Its rich chocolate fudge flavor is so satisfying, it feels like a sweet hug in every bite.
For maximum enjoyment, serve your No Fail Fudge on a pretty platter lined with parchment or wax paper. Arrange squares neatly for that inviting homemade look. Adding a sprinkle of sea salt or crushed nuts on top before chilling can add an elegant twist.
Pair this No Fail Fudge with fresh berries or a cup of strong coffee to balance its sweetness beautifully. For occasions like birthday parties or holiday gatherings, this simple fudge is a quick way to impress without stress.
Leftover fudge? Don’t store it in the fridge too long—it’s still at its best within a week. But if you want, cut smaller pieces to enjoy as an indulgent snack or melt it gently to create a rich chocolate sauce over ice cream or pancakes.
I’ve tested seasonal variations too, like adding peppermint extract for a holiday flare or swirls of peanut butter for an extra special chocolate fudge treat. These small changes make this No Fail Fudge recipe a versatile addition to your dessert lineup.
If this recipe brings you joy, you’ll love my Sheet Pan Teriyaki Salmon or Loaded Baked Potato Soup for more comforting meals that come together quickly.
FAQs
Can I make this No Fail Fudge ahead of time?
Absolutely! This homemade fudge is perfect for making a day or two ahead. Just keep it wrapped tightly in the refrigerator, and it will stay fresh and delicious.
What if I don’t have semi-sweet chocolate chips for my No Fail Fudge?
You can substitute with milk chocolate chips if you prefer a sweeter taste or even dark chocolate chips for a richer, slightly bitter edge. It’s flexible based on what you have or your preference.
How do I know when my No Fail Fudge is perfectly done?
When you pour the mixture into the pan, it should be glossy and smooth without graininess. It sets fully after chilling for at least 3 hours. Cuts cleanly with a slight firmness—not hard or crumbly.
Is there a way to speed up the setting process of this quick fudge?
Placing the fudge in the freezer for 30 to 45 minutes can help it set faster if you’re short on time. Just watch carefully so it doesn’t get too hard.
Can I add mix-ins like nuts or dried fruit?
Yes! Stir them in right after removing the fudge from heat for an even distribution that adds texture and extra flavor.
Is this No Fail Fudge gluten-free?
Yes, all the ingredients here are naturally gluten-free, making this simple fudge safe for those with gluten sensitivities.
What storage tips do you recommend for homemade fudge?
Store in an airtight container in the refrigerator, separating layers with wax paper to prevent sticking. Let it sit at room temperature 10 minutes before serving for the perfect soft bite.
Community feedback has been wonderful—many tell me this easy fudge recipe is their favorite quick fudge to bring to holiday parties like the Easy Fudge Recipe – Simple Joy or as a sweet gift such as Easy No Fail Fudge Recipe – A Pretty Life In The Suburbs.
For even more ideas and inspiration, check out this No Fail Fudge easy fudge recipe that highlights just how simple making amazing fudge can be.
Why This No Fail Fudge Will Become Your New Favorite
This No Fail Fudge is everything I stand for—it’s approachable, comforting, and perfectly satisfying. It proves that you don’t need complicated steps or fancy tools to make something truly delicious at home. With just a handful of simple ingredients, you get a homemade fudge experience that creates lasting memories.
My No Fail Fudge Success Tips:
- Use low heat and stir constantly to prevent scorching.
- Always line your pan with parchment; it helps the fudge release effortlessly.
- Chill for the full recommended time for the best texture and clean cuts.
I’ve loved mixing it up with peanut butter swirls, sea salt sprinkles, and even adding espresso powder for a mocha twist. But the classic chocolate fudge version gets the biggest smiles at my home every time.
I encourage you to make this No Fail Fudge a regular in your kitchen. It’s quick enough for a last-minute dessert and special enough to make any occasion sweeter.
I can’t wait to see how your No Fail Fudge creations turn out—please share your delicious results with me and keep bringing those joyful moments to your table! For more comforting recipes that fit right beside this fudge, you might enjoy my Chicken Cacciatore, the easy Sheet Pan Teriyaki Salmon, or warm up with Loaded Baked Potato Soup.
Here’s to many joyful, no-fail moments with your new favorite No Fail Fudge!
No Fail Fudge

Deliciously creamy and easy to make, No Fail Fudge is a perfect sweet treat that requires minimal ingredients and time. This rich, chocolatey fudge is guaranteed to satisfy your dessert cravings effortlessly.
- Prep Time: 10 minutes
- Cook Time: 5 minutes
- Total Time: 15 minutes
- Yield: 24 servings
- Category: Dessert
- Method: No-Cook
- Cuisine: American
Ingredients
- 3 cups semisweet chocolate chips
- 1 (14 oz) can sweetened condensed milk
- 1/4 cup unsalted butter
- 1 teaspoon vanilla extract
- Pinch of salt
Instructions
- Line an 8-inch square baking pan with parchment paper and lightly grease it.
- In a medium saucepan over low heat, combine chocolate chips, sweetened condensed milk, and butter.
- Stir constantly until the chocolate and butter are melted and the mixture is smooth.
- Remove from heat and stir in vanilla extract and a pinch of salt.
- Pour the mixture into the prepared pan and spread evenly.
- Refrigerate for at least 2 hours or until set.
- Once firm, cut into small squares and serve.
Notes
For an extra festive touch, sprinkle chopped nuts or sea salt on top before refrigerating.